
Survive (with no healer)
by AeonQuasar
Tinkerin
Modify your Blunderbuss to fire a single slug that deals 560 damage.
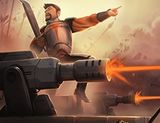
Weapon
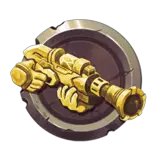
Bowling Ball
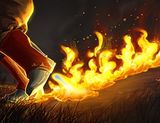
Gain a Shield with 300-1500 Health during Rocket Boots and for 3s after.
Rocket Boots
4
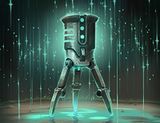
Healing Station
Standing near your Turret heals you for 45-225 Health per second.
Turret
4

Brave and Bold
Gain 150-750 Health.
Armor
3
Failsafe
Dropping below 10-50% of your max Health resets the cooldown of Rocket Boots.
Armor
3
Forged Alloy
Increase the Health of your Turret by 175-875.
Turret
1
Guide
This Build is not perhaps the strongest build overall, where you have a babysitter of a healer around you, but it will still be pretty strong. This is for in case you find yourself in a matchup that has no healer or a healer that decides to go damage build instead, ruining your sustainability by a lot.
"Bowling Ball IV" is Bariks most important card at any build. 4-5 is needed in this. 4 is mostly enough as it only last 3 sec anyway.
"Healing Station IV" important for this task. It's you main heal. Place your turrets mostly out of sight. They are not used for damage in this build, but for healing.
"Brave And Bold III" Health card are good at general, and 450 extra health is no joke.
"Failsafe III" Bariks second most important card in any Barik builds. Works perfect with the "Bowling Ball" card.
"Forged Alloy I" Filler card really. Personal preference. With 1 in this card, most turrets need more than one shot to be removed. Since we rely on their healing, this could not be pinpointed enough how important it is. For only 1 point spent, you get a lot with this card.
How to play this build:
When you play without a healer (or a bad one) you need to get to an area you could stand your ground from. Preferable at the objective, but on some maps, a place where you can hide your turrets and still fight people are maybe better at the start of the round, advance only if your team have the advantage.
Place your turrets out of sight, but close to you. You don't want them to be sniped away by a Strix or a random shot at from someone. Remeber they are your healing stations, not primarily used as damage.
Contest your ground, and spin around to get the shield from the rocket boots. Place your shield whenever you can, preferable when you want to deal damage and heal up with health from the turrets. Remember it has a long cooldown.
If you are contested, your hidden turrets are open for retaliations, but they do also fire for you and will be a huge factor to the game. Since they are hidden from the start, chances are they are not to be focused when fighting against you.
Items:
Recommend Cauterize as it is always good to have. But situational items as; haven, blast shield, resillience, illuminate, wrecker and bulldozer are almost always a good pick. Life rip is solid should they not go heavy on Cauterize as well, but Kill to Heal is also ok, should they have a squishy team.
My normal pick in any game is often: 3x Caut, 2x Haven or Blast Shield. The rest is filled with situational items.