

Reposition
Transporter is now instant.
Transporter

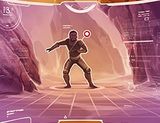
Calibrate
Hitting an enemy with your Carbine Rifle lowers the cooldown of Transporter by 0.12-0.6s.
Weapon
5


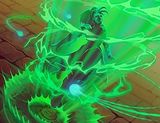
Restore
Heal for 10-50% of maximum health after teleporting to your Transporter beacon.
Transporter
3



Headstrong
Increase your maximum Health by 50-250.
Armor
2

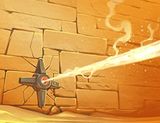
Amplitude
Increase the beam range of Oppressor Mines by 20-100%
Oppressor Mine
3


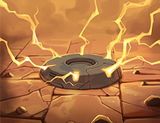
Octoppressor
Oppressor mines affect up to 1-5 more enemies
Oppressor Mine
2
Guide
This deck is based on aggressive sniping. Headstrong gives you more HP when flanking and beeing in the front line. You can be attacking on the side of a fight and with Calibrate you can use the teleport again in almost 8-10 hits of your carabine. Amplitude compensate the fact of using your mine in a fine way with an additional 60% more range, along with Octoppressor you can target 3 enemies at second offering you a good offensive (20 dmg to 3 enemies every 0.20s).
Check this deck out.
PS: If you want you can replace Headstrong II with Quick Scope II (Preference)
