
Immovable Object
by Anonymous

Formidable
Heal for 55% of your maximum Health over 3s when you fall to or below 40% of your maximum Health. This can occur once every 45s.
Armor

Immovable Object
Increase your Healing received from others by 5-25% while at or below 50% Health.
Armor
5

Last Stand
Heal for 100-500 every 1s while Shield is active and you are at or below 40% Health.
Shield
4
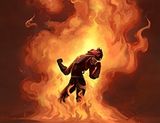
Brand
Heal for 100-500 for each enemy hit with Fireball.
Fireball
3

Fearless Leader
Reduce your active Cooldowns by 10-50% after getting an Elimination.
Armor
2
Cavalier
Increase your maximum Health by 150-750.
Armor
1
Guide
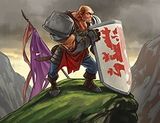
This deck makes Fernando incredibly hard to kill. With a half-decent Seris on your team, there is no reason you should die. Not dying means you can cap the point. EZ winz