


Pluck
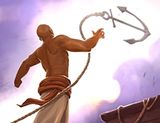
Gain 65% bonus damage on your first shot after hitting an enemy with Dredge Anchor.
Dredge Anchor

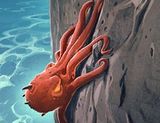
Sea Legs
Gain 6-30% lifesteal after hitting an enemy with Dredge Anchor.
Dredge Anchor
4


Strongarm
Reduce the Cooldown of Dredge Anchor by 0.5-2.5s.
Dredge Anchor
4
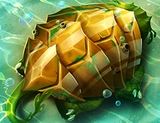
Harden
Gain 5-25% Damage Reduction for 2s after hitting an enemy with Dredge Anchor.
Dredge Anchor
3
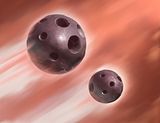
Lighter Cannonballs
Gain 7-35% Reload speed.
Weapon
2
Determination
Gain 14-70% Crowd Control and Slow Reduction.
Armor
2
Guide
This build is made to grab the enemy bring them close and end them fast. When starting a match I suggest getting chronos as to reduce your cool downs, then haven to get the damage reduction of direct damage, then kill to heal or cauterize to give yourself a boost. In a pinch use your shell sheild or if able shell spin to regain your distance.
Back