
Survival Barik
by AuraDrak

Architectonics
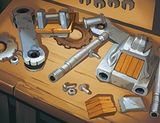
Turrets now deal 20% more damage, and have a 3s faster Cooldown.
Turret

Healing Station
Standing near your Turret heals you for 45-225 Health per second.
Turret
5
One Man's Scrap
When your Turret is destroyed heal for 100-500 over 5s.
Armor
3

Bowling Ball
Gain a Shield with 300-1500 Health during Rocket Boots and for 4s after.
Rocket Boots
3

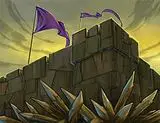
Palisade
Reduce the Cooldown of Barricade by 1-5s.
Barricade
2

Foundation
Increase the Duration of Barricade by 1-5s.
Barricade
2
Guide
This guide is for starting Barik's to make sure you live as long as possible. Healing Station V and One Man's Scrap III will restore your health, whenever your Sentry is up or down. The Ultimate card is Architectonics since it has your Sentry get a faster cooldown, meaning by the time your One Man's Scrap is over, you will have a new Sentry. Bowling Ball III keeps you alive when charging in, and Palisade II with Foundation II keeps your Barricade up more often. Any suggestions are recommended.
Back